
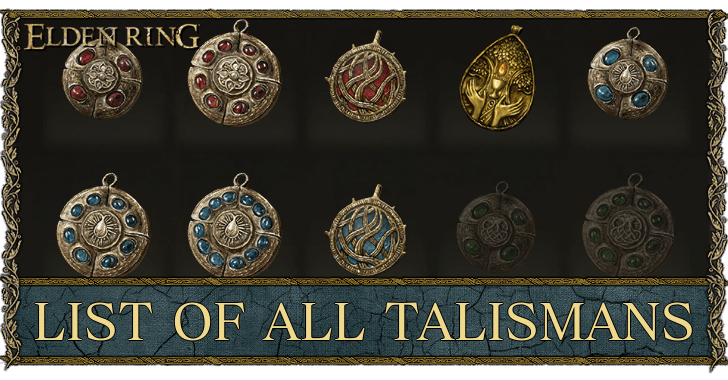
Quick Answer: Elden Ring has over 90 Talismans that provide passive buffs. You can equip up to 4 once all slots are unlocked. Most powerful: Erdtree’s Favor +2 (HP/Stamina/Equip Load), Great-Jar’s Arsenal (+19% Equip Load), Radagon’s Soreseal (+5 to four stats), and Rotten Winged Sword Insignia (stacking damage). Each Talisman has up to 3 tiers (+0, +1, +2).
Welcome to the EldenGuide Talismans Wiki. Talismans are equippable accessories that grant powerful passive bonuses, and choosing the right ones can transform a build. This page explains how talismans work and how our wiki organizes them.
How Talismans Work
You begin with a single talisman slot and unlock more as you progress, eventually equipping several at once. Each talisman provides a passive effect — boosting a stat, raising damage, improving survivability, or enabling a niche playstyle. Talismans have no weight and no requirements; the only cost is the slot they occupy.
Categories of Talisman Effects
Our wiki groups talismans by the type of bonus they provide:
- Survivability — talismans that raise health, increase damage negation, or boost defenses;
- Offense — talismans that increase attack power, often under specific conditions;
- Stamina & Equip Load — talismans that improve stamina recovery or raise your maximum equipment load;
- Casting — talismans that strengthen sorceries or incantations;
- Utility — talismans with situational or build-enabling effects.
Core Talismans Worth Knowing
A few talismans are valuable for nearly any build. Talismans that raise maximum health are excellent for survivability. Talismans that increase equipment load let you wear heavier armor while staying in a faster roll bracket. Talismans that boost attack power after specific triggers reward players who can meet their conditions consistently.
Conditional Talismans
Many of the strongest talismans only activate under a condition — when your health is low, after you take damage, when you land a critical hit, and so on. These can offer huge bonuses, but only if your playstyle reliably meets the trigger. Match conditional talismans to how you actually play rather than chasing the biggest number.
Talisman Pouches
You expand your talisman slots by finding Talisman Pouches as you progress through the game. Seeking these out early is worthwhile, since more slots mean more passive power for every build.
Building With Talismans
A balanced talisman loadout usually mixes survivability and offense. A common approach: one talisman for health, one for equip load or stamina, and the rest for damage suited to your build. Casters swap damage talismans for ones that strengthen their spells. Because talismans are free to swap at any Site of Grace, experiment freely to find your ideal set.
Talismans and Your Build
Talismans amplify whatever your build already does well. A Strength build leans into attack and poise talismans; a caster prioritizes spell-boosting ones; a status build looks for talismans that support aggression and survivability. For help planning the stats your talismans support, see our stat soft caps guide.
Final Notes
Talismans are small accessories with an outsized impact. The right combination can mean more health, faster rolls, bigger damage, or a build that simply would not function without them. Browse our Talismans Wiki by effect type and assemble the loadout that completes your Tarnished.
Frequently Asked Questions
Q: How many Talisman slots are there?
A: Four maximum. Unlock by defeating Margit (2nd slot), two demigods (3rd via Enia), and Godfrey First Elden Lord (4th slot).
Q: Where do I get the Erdtree’s Favor +2?
A: Found in Crumbling Farum Azula on a corpse near the Beside the Great Bridge Site of Grace. The +2 version is the strongest universal Talisman.
Q: Can I stack Talisman effects?
A: Yes for different Talismans. You cannot stack the same Talisman’s tiers (e.g., +0 and +1 of Erdtree’s Favor). Different elemental scorpion charms can stack.